Take job photos
Photos taken in the app are stamped with the time and place and attached to the job. The office sees them as soon as they upload.
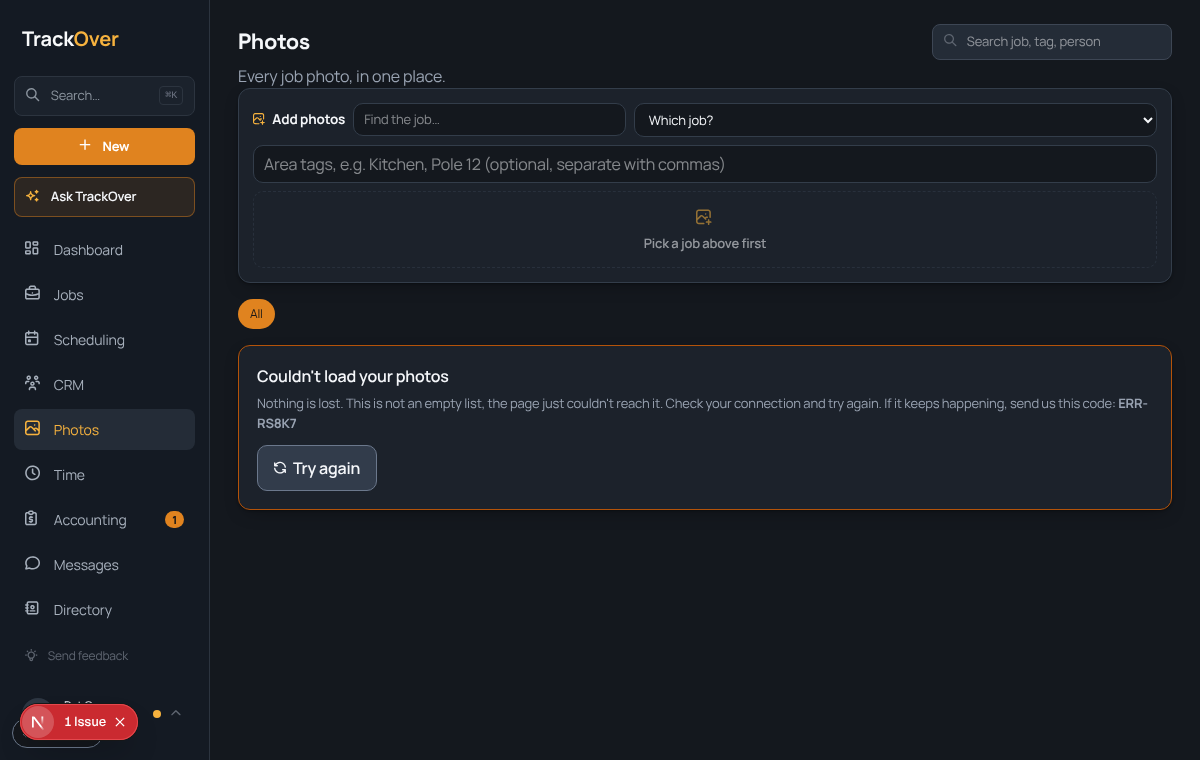
1. Open the job on the phone
Open the job, go to its Photos tab, then tap Camera to open the camera, or Library to pick ones already on the phone. On the Photos tab, Add photos does the same for several jobs at once.
2. Snap the work
Take before, during and after shots. Each one is saved on the phone the moment you take it, at the camera's full size.
Flash at the top goes Off, On, then Auto each time you tap it. It works for photos only. Light is a steady light that stays on until you turn it off, and it works for video too. Tap the screen to refocus, and a ring shows where. Zoom with the 1x, 2x and 3x buttons, or pinch up to 8x. Newer iPhones also have a 0.5x button for the wide lens. While Light is on, the Flash button is hidden, so turn the Light off to use Flash.
3. Let it upload
With signal or WiFi the photos go up on their own. Without it they wait on the phone and upload later.
On weak signal, Data saver sends smaller photos (1600 px) and one at a time. It can turn itself on after a few slow uploads, and the camera shows Data saver on when it does. Tap that chip, or tap the Data saver link on the Sync Status screen, to turn it off. If it came on by itself, it turns itself off after one good upload, or after 12 hours.
4. See them in the office
Photos show on the job's Photos tab and on the Photos page on the web.
Pro tip: A photo that looks missing is almost always still on the phone, waiting for signal. The phone's Sync Status screen, under More, shows what is waiting.